The Neptune 2 prints PLA without a problem right out of the box, but once you work with high-temperature filaments, the stock cooling fan will no longer be sufficient. This Neptune 2 fan upgrade will significantly improve your hotend cooling capacity and improve the speed and accuracy of your 3D prints.
One of the greatest benefits of owning a 3D printer is the ability to design and print custom parts.
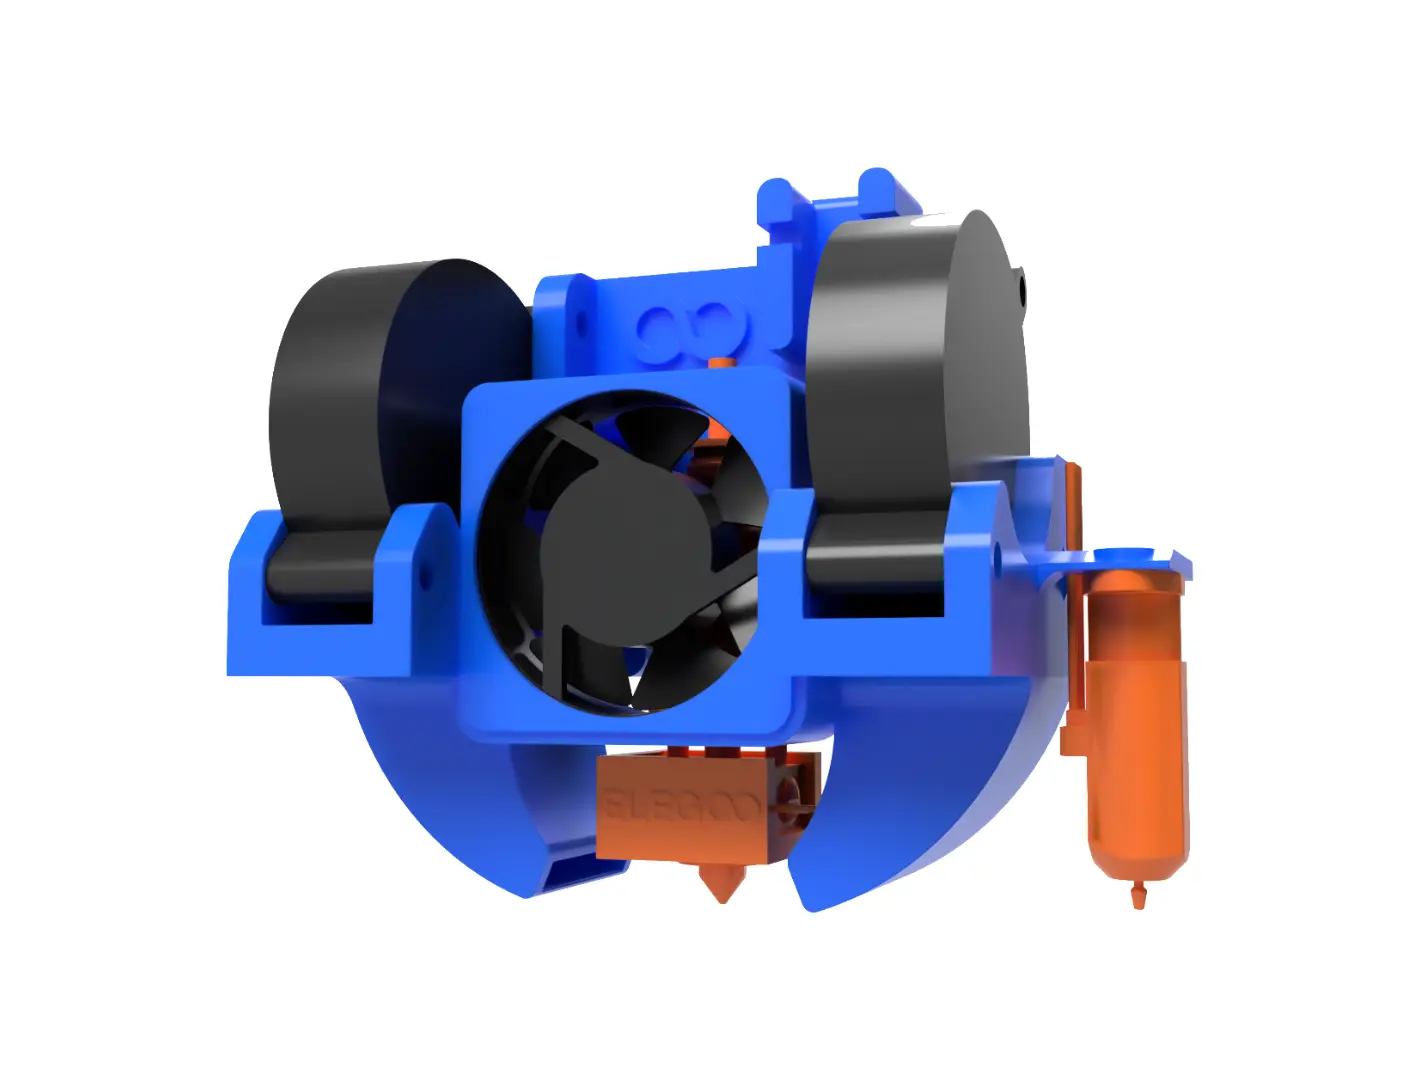
I opened up SolidWorks and put together this Neptune 2 Hotend shroud complete with two 24v 5015 Fans. I also designed a bracket to keep a dial indicator held in place by a few 8mm round neodymium magnets. This comes in handy for getting a good mechanical leveling of the heated bed.
This turned out to be a great cooling solution for the Neptune 2, especially since the fans can be run at about ±40 percent and the fan noise is hardly noticeable.
Neptune 2 Hotend Upgrade Parts List
First, on the list, you’ll need a pair of 24v 5015 fans. I prefer spending a little more and getting a good set of fans with good bearings. Some vendors sell fans with nice long lead wires, which make the job a lot easier and will probably save you some soldering.
High quality Dual Ball Bearings, 5-years Warranty. balance between high air volume and low noise, Suitable for 24 hours / day long-term work, long life: 50,000 Hours.Dual Ball Bearing, Connector & Cable length: XH2.54 – 11.8in(300mm), Size: 50mm x 50mm x 15mm
Check PriceNext, you’ll need two M3 socket head cap screws. If you’ve been 3D printing for a while or have owned a printer or two chances are you already have a bunch of these tucked away in a drawer. If not, now is a good time to take the plunge and buy yourself a nice assortment that comes in a case.
Includes 500 Pcs Thread Pitch 0.5 mm M3 Hex Nuts to Meet Different Applications. These Hex Nuts are Made of Stainless Steel and Do Not Need Additional Finish. High Strength and Anti-corrosion in Various Conditions.
Check PriceNeptune 2 Dial Indicator Bed Leveling Upgrade
The dial indicator is an optional accessory. It mates with the front of the hotend shroud and is held in place with 8mm round neodymium magnets. I find using the dial indicator much faster and overall more accurate than using the manual leveling routine built into the printer’s firmware. The dial indicator I’ve selected is inexpensive and more than accurate enough for the job.
- (1) WEN 10702 1″ Dial Indicator
- (8) 8x3mm Round Neodymium Magnets
- (4) Silicone Leveling Column Mounts (optional)
- (3 Pairs) JST Plug Connector 2 Pin Male Female Plug Connector Cable (optional)
- Heat shrink tube (optional)
Stainless steel rack and contact tip for reliable readings. Rotatable bezel and adjustable markers help provide reference points for your measurements. Features a 2-inch display face, a 1.5-inch long plunger, a 1/4-inch lug hole, and a two-year warranty.
Check PriceSmall neodymium magnets with a high-quality plastic box, very easy to carry and use. It's perfect for small craft projects, small models, dry erase board magnets and much more.
Check PriceYou will need 8 magnets. These are usually cheaper the more you buy so I purchased 50. The magnets are handy for sticking things on the refrigerator and they also come in handy for countless 3d printed projects. Having some leftover magnets isn’t a bad thing.
The silicon leveling mounts (springs) are optional but I highly recommend you pick up a set. They are inexpensive and work far better than traditional springs that eventually fatigue and cause your printer’s bed to go out of level. These work fantastic and once your bed is properly leveled you’ll find that you can go weeks or months without needing to adjust it again.
High temperature resistance, compared to the spring contact surface is larger with better stability, good elasticity, good fatigue resistance, shock absorption, can be freely adjusted.
Check PriceHere’s another affordable component I highly recommend installing during your 3D printer upgrade. Grab a few sets of JST connectors and integrate them into your setup. This allows you to easily disconnect your hotend without the hassle of disassembling the entire printer. Since you’re already removing the hotend and accessing its internals, installing these connectors is a step that you’ll be glad you did later on.
JST plug connector cable type: 20 AWG; Total cable length: approx. 210 mm/ 8.3 inch
Check PricePrinting out the STL Files
If you don’t already have the STL files for my Neptune 2 hotend upgrade you can download them from my profile on any of the following websites.
Neptune 2 Hotend Fan Upgrade STL Download
The 3D Printing settings I used are as follows.
- PLA infill 15%.
- Heated bed temperature 60
- Slicer layer height 0.2mm
I used white Overture PLA 3D Printer Filament for the hotend upgrade, but you can use any brand of filament you like. I maintain a list of my favorite PLA filaments if you’re looking for suggestions.
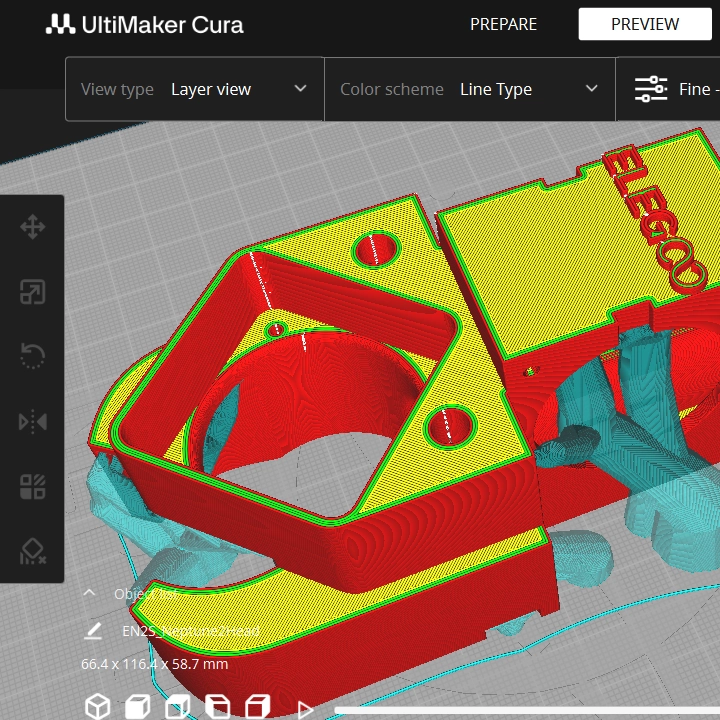
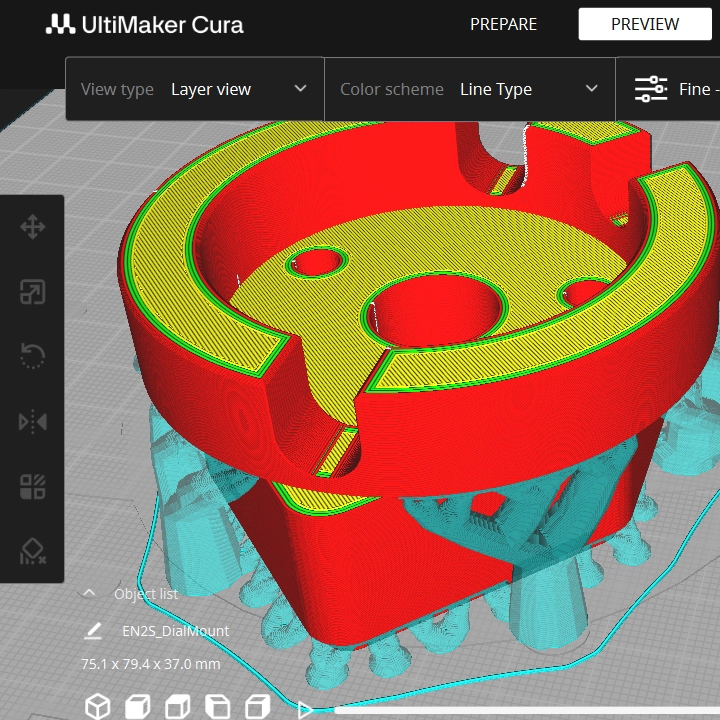
Print the model out as shown in the photo. I use Ultimaker Cura’s trees for support and I find they work great in most instances when you need a good amount of support. They detach from the model cleanly and can decrease the total print time under the right circumstances.


Make sure you set your slicer to only add supports where the model is touching the build plate or your air ducts will print out full of supports and you’ll need to start over.
The total print time is around 5 hours using roughly 85g of plastic when you slice the model at 0.2mm. The dial indicator and mount isn’t necessary but I’ve concluded that using a good set of silicon springs and leveling the bed with a dial indicator or feeler gauges gives way better results than using a touch probe.
The dial indicator snaps on the face of the head and stays held in place with magnets.
How do you use a dial indicator to level a 3D printer bed?
If you aren’t familiar with the concept of using a dial indicator to level the bed on your 3D printer this video will give you a good idea of how it works. Try it and see how you like it.
If you’ve done a hotend upgrade or made upgrades to a 3D printer before, you won’t find the installation that difficult. I finished my installation in about an hour.
Once the installation is complete, you’ll need to recalibrate your printer’s bed to make sure it’s level and that the nozzle is the correct height from the print surface. If you took my advice and installed a set of silicon leveling mounts, you’ll immediately see the benefits.
Be sure to sign up for my mailing list if you would like to be updated as I add or make improvements to my designs.
Good luck with your hotend fan upgrade and post a make on my Thingiverse page if you end up performing this modification.
Code Monkey Zero
Some of the links shared in this post are affiliate links. If you click on the link & make any purchase, I may receive an affiliate commission at no extra cost of you.


