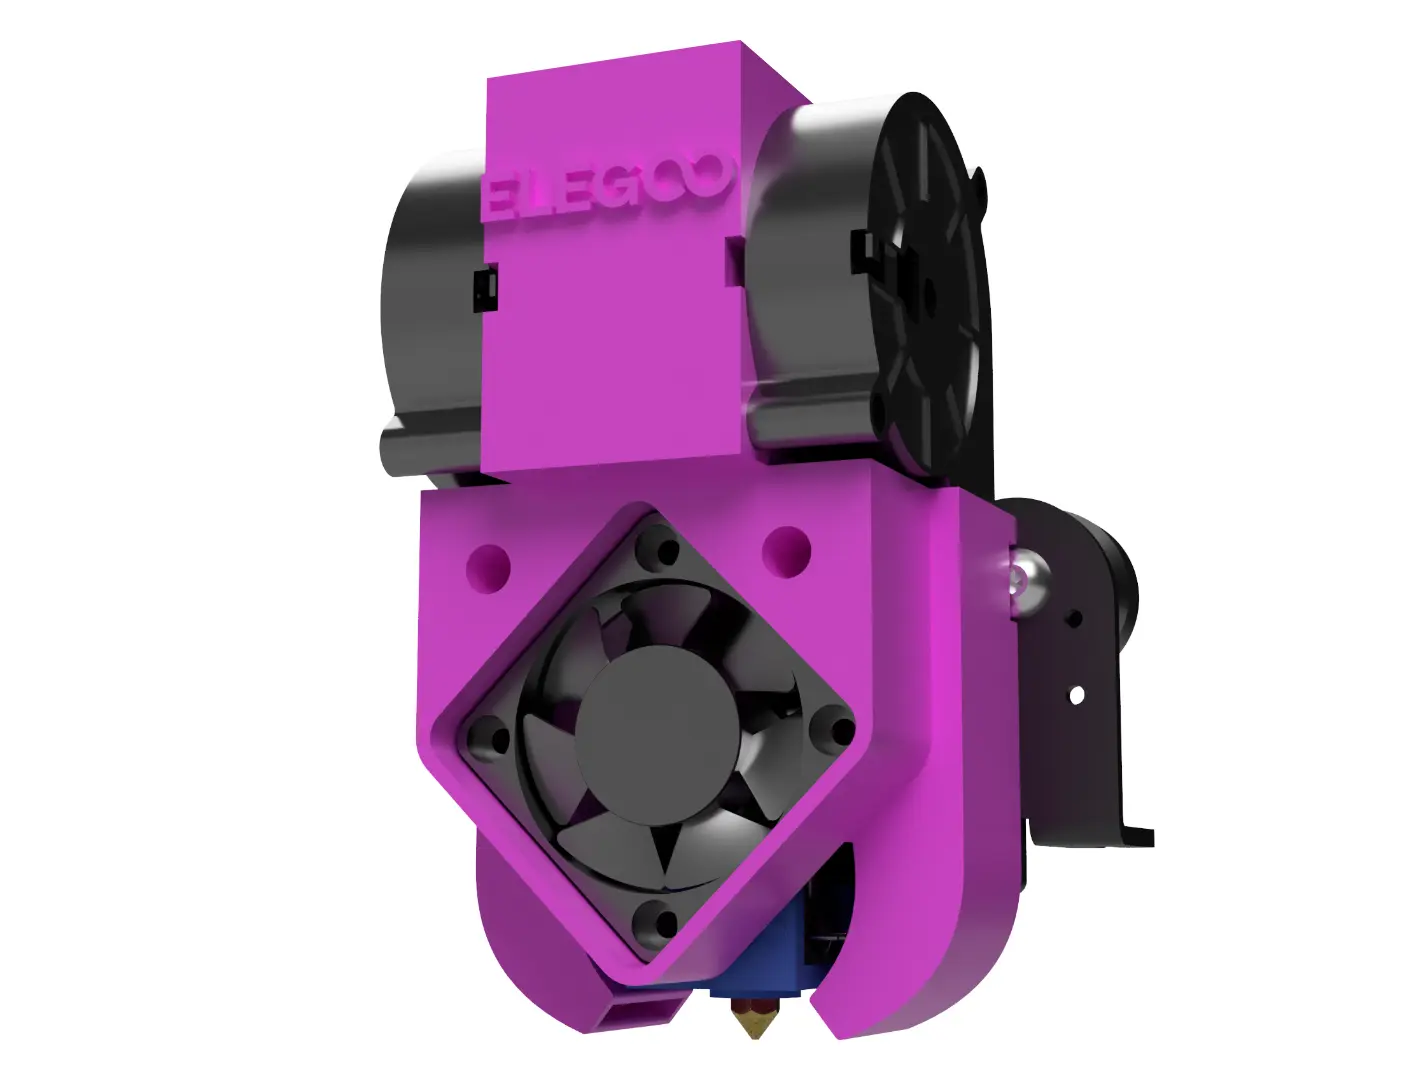
One downside to buying a budget friendly 3d printer is that they don’t always come with the best components. The Elegoo Neptune 2 is a fantastic printer for its price point, to be sure, but you’ll probably want improve your printers hotend with this Neptune 2 fan shroud upgrade.
Most notably the stock cooling fan for the model is completely inadequate for high-temperature filaments. I discovered this the first time I attempted to print with my favorite Silk PLA that prints best at around 230ºC
This lack of cooling power isn’t uncommon in the world of FDM printers. If you look at Thingiverse or one of the other sites that host 3D print models you’ll find a huge variety of print shrouds for your favorite printers. Unfortunately, the Neptune 2 was brand-new on the market at the time and there were very few parts or designs available for the printer.
Fortunately, I know my way around SolidWorks and I’m no stranger to designing a part. Besides, designing and printing your own parts is half the fun of owning a 3D printer.
Since I knew that I wanted a dual fan setup, and it wanted to be easy to service. I also knew from experience that buying the cheapest fans meant buying them twice once they started making noise and driving me crazy. I opted for a good set of 5015 fans with high-quality bearings.
I also wanted to connect the Elegoo Neptune 2 fan shroud with JST Plug Connectors so I could switch out fan shrouds later without having to cut and solder wires. The connectors are inexpensive and really make your life a lot easier should you decide to change something in the future. If you’re going to go to the trouble of taking your printer apart, I highly recommend installing these while you are at it.
In retrospect, I probably could have grabbed one of the dozens of fan shrouds already designed for the Ender 3 and changed the model so that the screw holes lined up with the carriage on the Neptune 2.
But me being me and knowing that Elegoo had provided the community with a complete 3d model of the Neptune 2 for download that I could work from, I got to work and put together something quick that would accommodate a lot more cooling power and get me back to printing my favorite Silk PLA as soon as possible.
Elegoo Neptune Hotend Upgrade Parts List
- (2) 24V 5015 Ball Bearing Fans
- (2) M3 x 12 socket head cap screws
- (3 Pair) JST Plug Connectors Male and Female
- Heat Shrink tube (Optional)
- BLTouch Probe (Optional)
High quality Dual Ball Bearings, 5-years Warranty. balance between high air volume and low noise, Suitable for 24 hours / day long-term work, long life: 50,000 Hours.Dual Ball Bearing, Connector & Cable length: XH2.54 – 11.8in(300mm), Size: 50mm x 50mm x 15mm
Check PriceIncludes 500 Pcs Thread Pitch 0.5 mm M3 Hex Nuts to Meet Different Applications. These Hex Nuts are Made of Stainless Steel and Do Not Need Additional Finish. High Strength and Anti-corrosion in Various Conditions.
Check PriceJST plug connector cable type: 20 AWG; Total cable length: approx. 210 mm/ 8.3 inch
Check PriceCreality 3D Printer Auto Bed Leveling Kit - The Creality cr touch auto bed leveling kit fulfilled simple structure and high precision. Performs multi-point detection on the printing platform and records the height of each detection point. Stable quality, long service life, and can be reused more than 100,000 times.
Check PriceThe STL files for my Neptune 2 fan shroud upgrade can be downloaded from my profiles linked below.
Neptune 2 Fan Shroud Upgrade STL Downloads
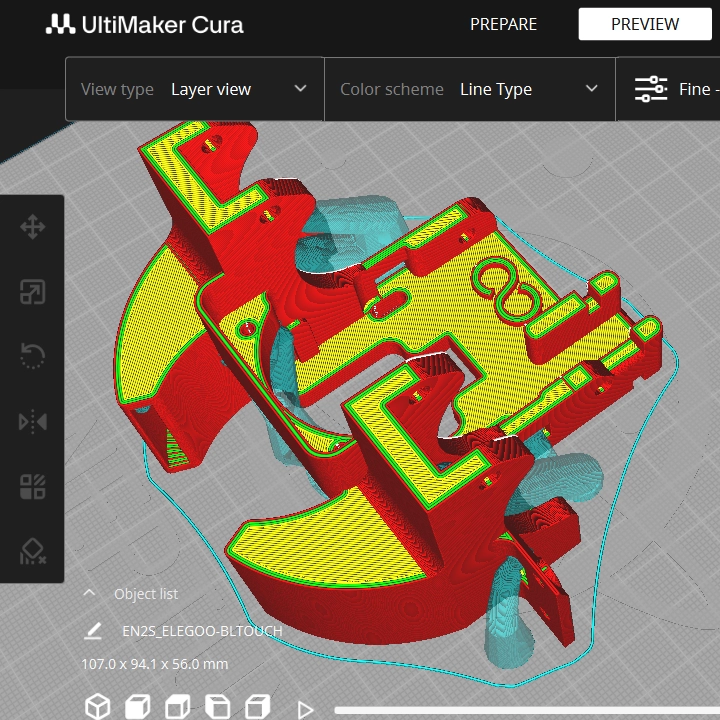
Print the fan shroud out as shown. I like to use Ultimaker’s Cura for slicing my models and I use Cura’s tree option for support. Be sure to select the option to only add supports where the model is touching the build plate. Otherwise your fan shroud upgrade will print with the air ducts full of supports and you’ll be tossing the print in the trash.
The 3D Printing settings I used are as follows.
- PLA infill 15%.
- Heated bed temperature 60
- Slicer layer height 0.2mm
- Supports Trees

Before you take your printer apart or start cutting your fan wires, it is always best to test fit the 5015 fans in your new fan shroud to make sure everything fits. Once you take the printer apart, you’ll have to put it back together if you realize the fans don’t fit and you need to recalibrate and do another print.
I designed the shroud to use screws to secure the 5015 fans in place but once I had the model printed out; It turned out that the fans fit securely enough that no screws were necessary.
I ended up using a few zip cable ties just in case, but anytime we’re adding parts to the print carriage, we should avoid adding unnecessary weight. Using cable ties instead of the screws worked out better in the end.
When wiring up the fans you can connect both of the fans to the same lead coming from the printer’s controller board. I used a female JST connector and some shrink tube and soldered the male connector to the pair of fans.
Overall, I am pleased with the fan shroud upgrade. It was a quick design, and I put little effort into making it look pretty. It does however work exceptionally well and handles these high-temperature filaments without issue.
The best part of this fan upgrade mod is that I have a ton of cooler power to spare. I haven’t run into a filament in my collection that required running the fans above 40% which means the fans will last a lot longer and the other benefit is that they hardly make any noise.
For my next Neptune 2 fan shroud upgrade I plan on changing the location of the fans so that I can keep the width of the print carriage as narrow as possible.
Be sure to sign up for my mailing list if you would like to be updated as I add or make improvements to my designs.
Have fun and post a make if you print one.
Code Monkey Zero.
Some of the links shared in this post are affiliate links. If you click on the link & make any purchase, I may receive an affiliate commission at no extra cost of you.


